
Property
| Name |
|---|
| MatrixDotSize |
| MatrixDotGap |
| IsMatrixSquare |
| ScrollSpeed |
| IsScrolling |
| ScrollDirection |
| Spacing |
| Angle |
| SegmentForeground |
| SegmentBackground |
| ColonForeground |
| ColonBackground |
| StrokeThickness |
| Stroke |
| Model |
| SymbolCount |
| IsColonBlink |
| Text |
Models
| Name |
|---|
| SixteenSegmentChar |
| FourteenSegmentChar |
| Matrix5x7SegmentChar |
| Matrix5x8SegmentChar |
| Matrix8x14SegmentChar |
Styles
There is some styles which can be applied to SixteenSegmentChar or FourteenSegmentChar
| Name |
|---|
| WideFourteenSegmentCharStyle |
| WideSixteenSegmentCharStyle |
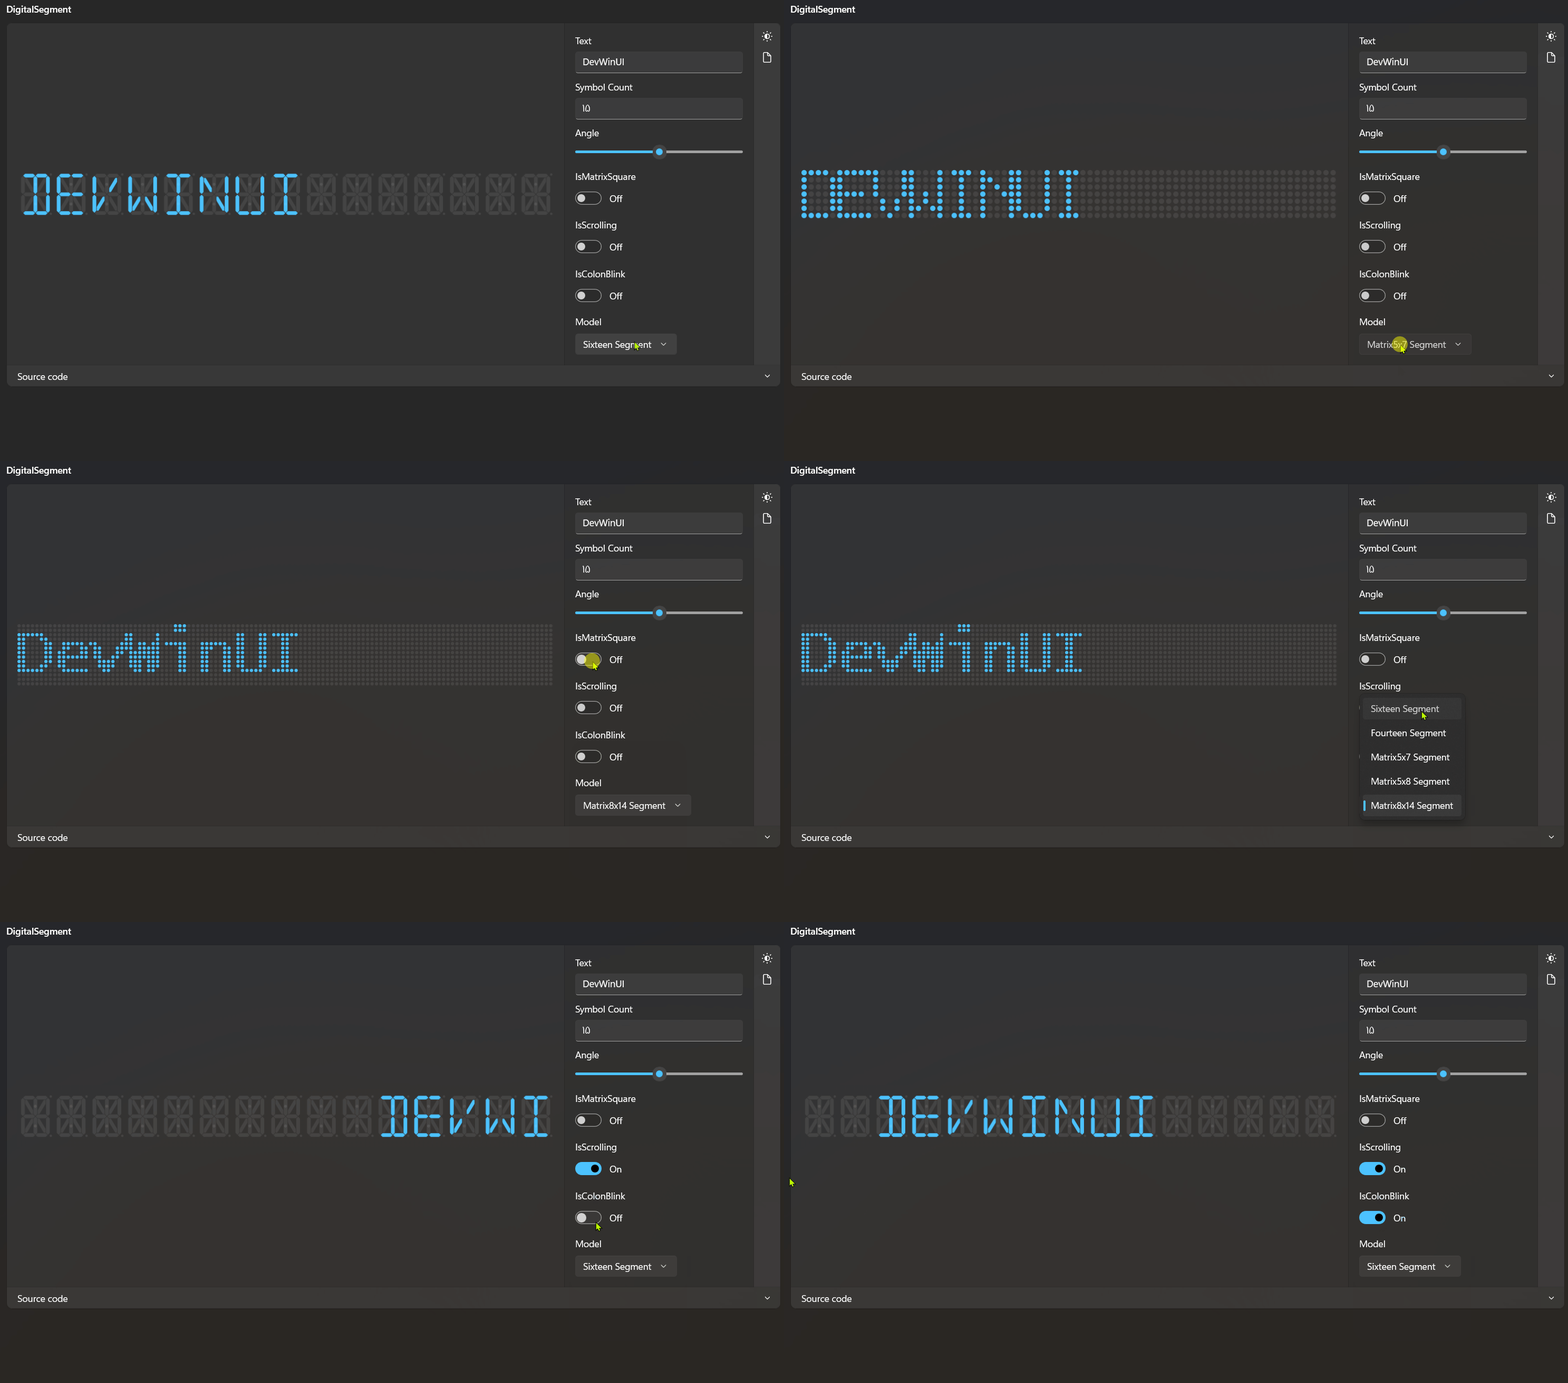
Example
<dev:DigitalSegment Text="DevWinUI">
    <dev:DigitalSegment.Model>
      <dev:SixteenSegmentChar>
    </dev:DigitalSegment.Model>
</dev:Accordion>
Custom Model
Currently, we provide some built-in models such as SixteenSegmentChar, FourteenSegmentChar, and MatrixSegmentChar (5x7, 5x8, 8x14). You can also create your own custom segment.
Define Pattern
Create a class and derive it from ISegmentPattern.
public partial class MySegmentPattern : ISegmentPattern
{
    public static string DefaultPattern => "00000000000000000000";
    public static Dictionary<string, string> Patterns { get; } = new()
    {
        { "A", "11110011110000000000"},
    }
}
Here, you need to define your pattern, where 1 represents an active (filled) segment and 0 represents an inactive (not filled) segment. Each number corresponds to a specific segment.
You should add a pattern for every character you want to support. We’ll guide you on how to obtain these patterns later in this document.
Define new SegmentChar
Create a new class and derive it from SegmentChar. if you want to create a matrix like segment, you should drive it from MatrixSegmentChar.
public sealed partial class MySegmentChar : SegmentChar{
protected override IReadOnlyDictionary<string, string> PatternTable => MySegmentPattern.Patterns;
    protected override string DefaultPattern => MySegmentPattern.DefaultPattern;

protected override void OnApplyTemplate()
    {
        base.OnApplyTemplate();
        CollectSegments();
        UpdateCharacter();
        InitColonAnimation();
        if (IsPatternMakerEnabled)
        {
            RegisterPointerEvents();
        }
    }

    protected override void CollectSegments()
    {
        Segments = new()
        {
            ("A1", GetTemplateChild("PART_SegmentA1") as Path),
            ("ColonTop", GetTemplateChild("PART_SegmentColon1") as Ellipse),
            ("ColonBottom", GetTemplateChild("PART_SegmentColon2") as Ellipse),
        };
    }

    public override SegmentChar Clone()
    {
        return new MySegmentChar();
    }
}
You should populate the Segments collection with your segments.
Matrix Example
public partial class MyMatrixSegmentChar : MatrixSegmentChar
{
    protected override int MatrixColumns => 5;
    protected override int MatrixRows => 7;
    protected override IReadOnlyDictionary<string, string> MatrixPatternTable => MySegmentPattern.Patterns;
    protected override string MatrixDefaultPattern => MySegmentPattern.DefaultPattern;

    public override SegmentChar Clone() => new MyMatrixSegmentChar();

    public MyMatrixSegmentChar()
    {
        DefaultStyleKey = typeof(MyMatrixSegmentChar);
    }
}
Define your template
Define your template. If you want to use colon animations and related features, you should name the segments ColonTop and ColonBottom.
<Style TargetType="local:MySegmentChar">
        <Setter Property="Template">
            <Setter.Value>
                <ControlTemplate TargetType="local:MySegmentChar">
                    <Grid Width="280"
                          Height="350"
                          Margin="10">
                        <Path x:Name="PART_SegmentA1"
                              Data="..."
                              Fill="{TemplateBinding SegmentBackground}"
                              Stroke="{TemplateBinding Stroke}"
                              StrokeThickness="{TemplateBinding StrokeThickness}" />
                    </Grid>
                </ControlTemplate>
            </Setter.Value>
        </Setter>
    </Style>
if you are drived it from MatrixSegmentChar, you should define your template like this:
<Style TargetType="local:MySegmentChar">
        <Setter Property="SegmentForeground" Value="{ThemeResource AccentAAFillColorDefaultBrush}" />
        <Setter Property="SegmentBackground" Value="{ThemeResource DividerStrokeColorDefaultBrush}" />
        <Setter Property="Angle" Value="-5" />
        <Setter Property="Template">
            <Setter.Value>
                <ControlTemplate TargetType="local:MySegmentChar">
                    <Canvas x:Name="PART_Canvas">
                        <Canvas.RenderTransform>
                            <SkewTransform AngleX="{Binding Angle, RelativeSource={RelativeSource Mode=TemplatedParent}}" AngleY="0" />
                        </Canvas.RenderTransform>
                    </Canvas>
                </ControlTemplate>
            </Setter.Value>
        </Setter>
    </Style>
Usage
Now you can use it like this:
<dev:DigitalSegment>
    <dev:DigitalSegment.Model>
        <local:MySegmentChar>
    </dev:DigitalSegment.Model>
</dev:DigitalSegment>
How to Generate Pattern?
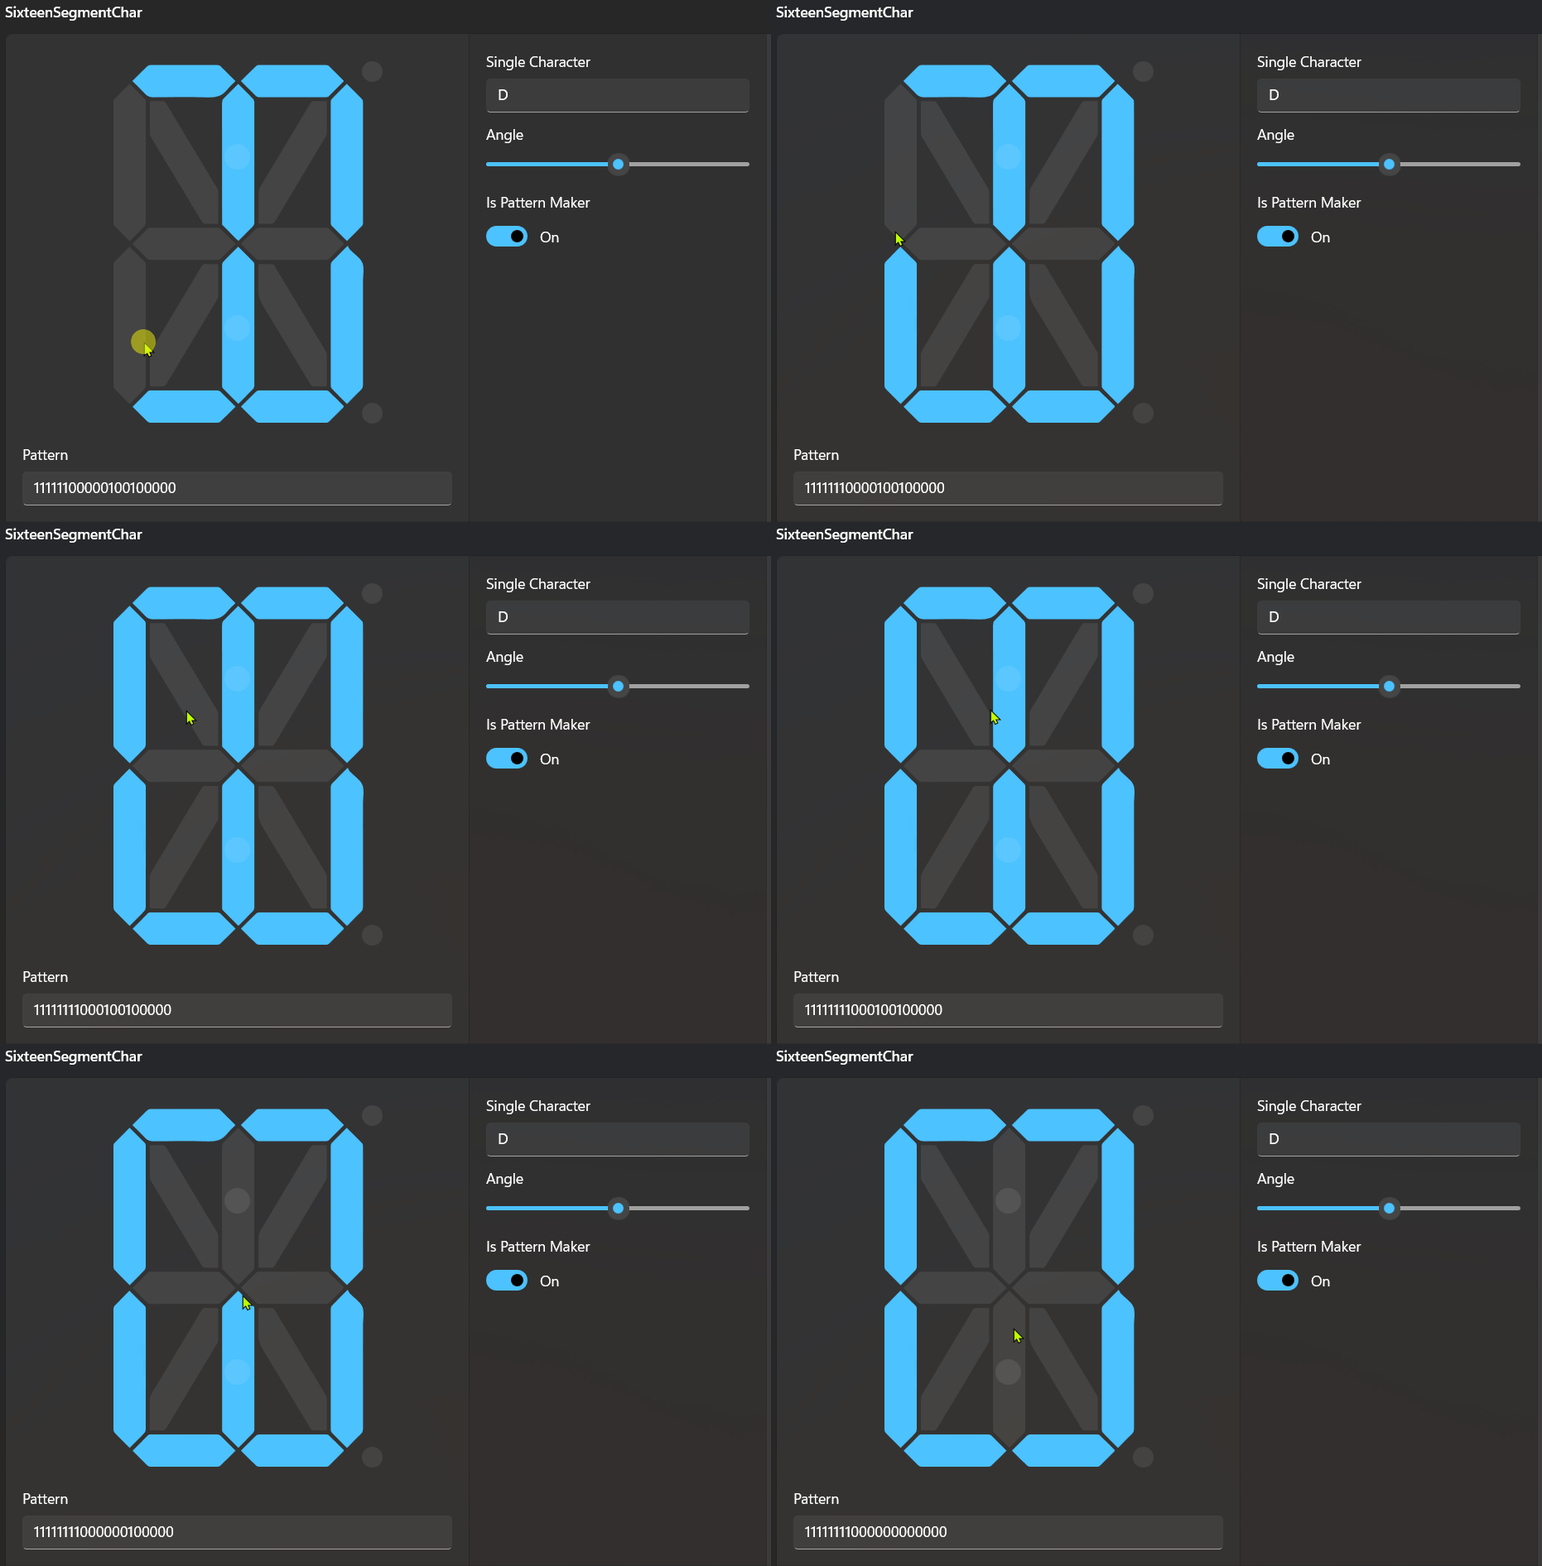
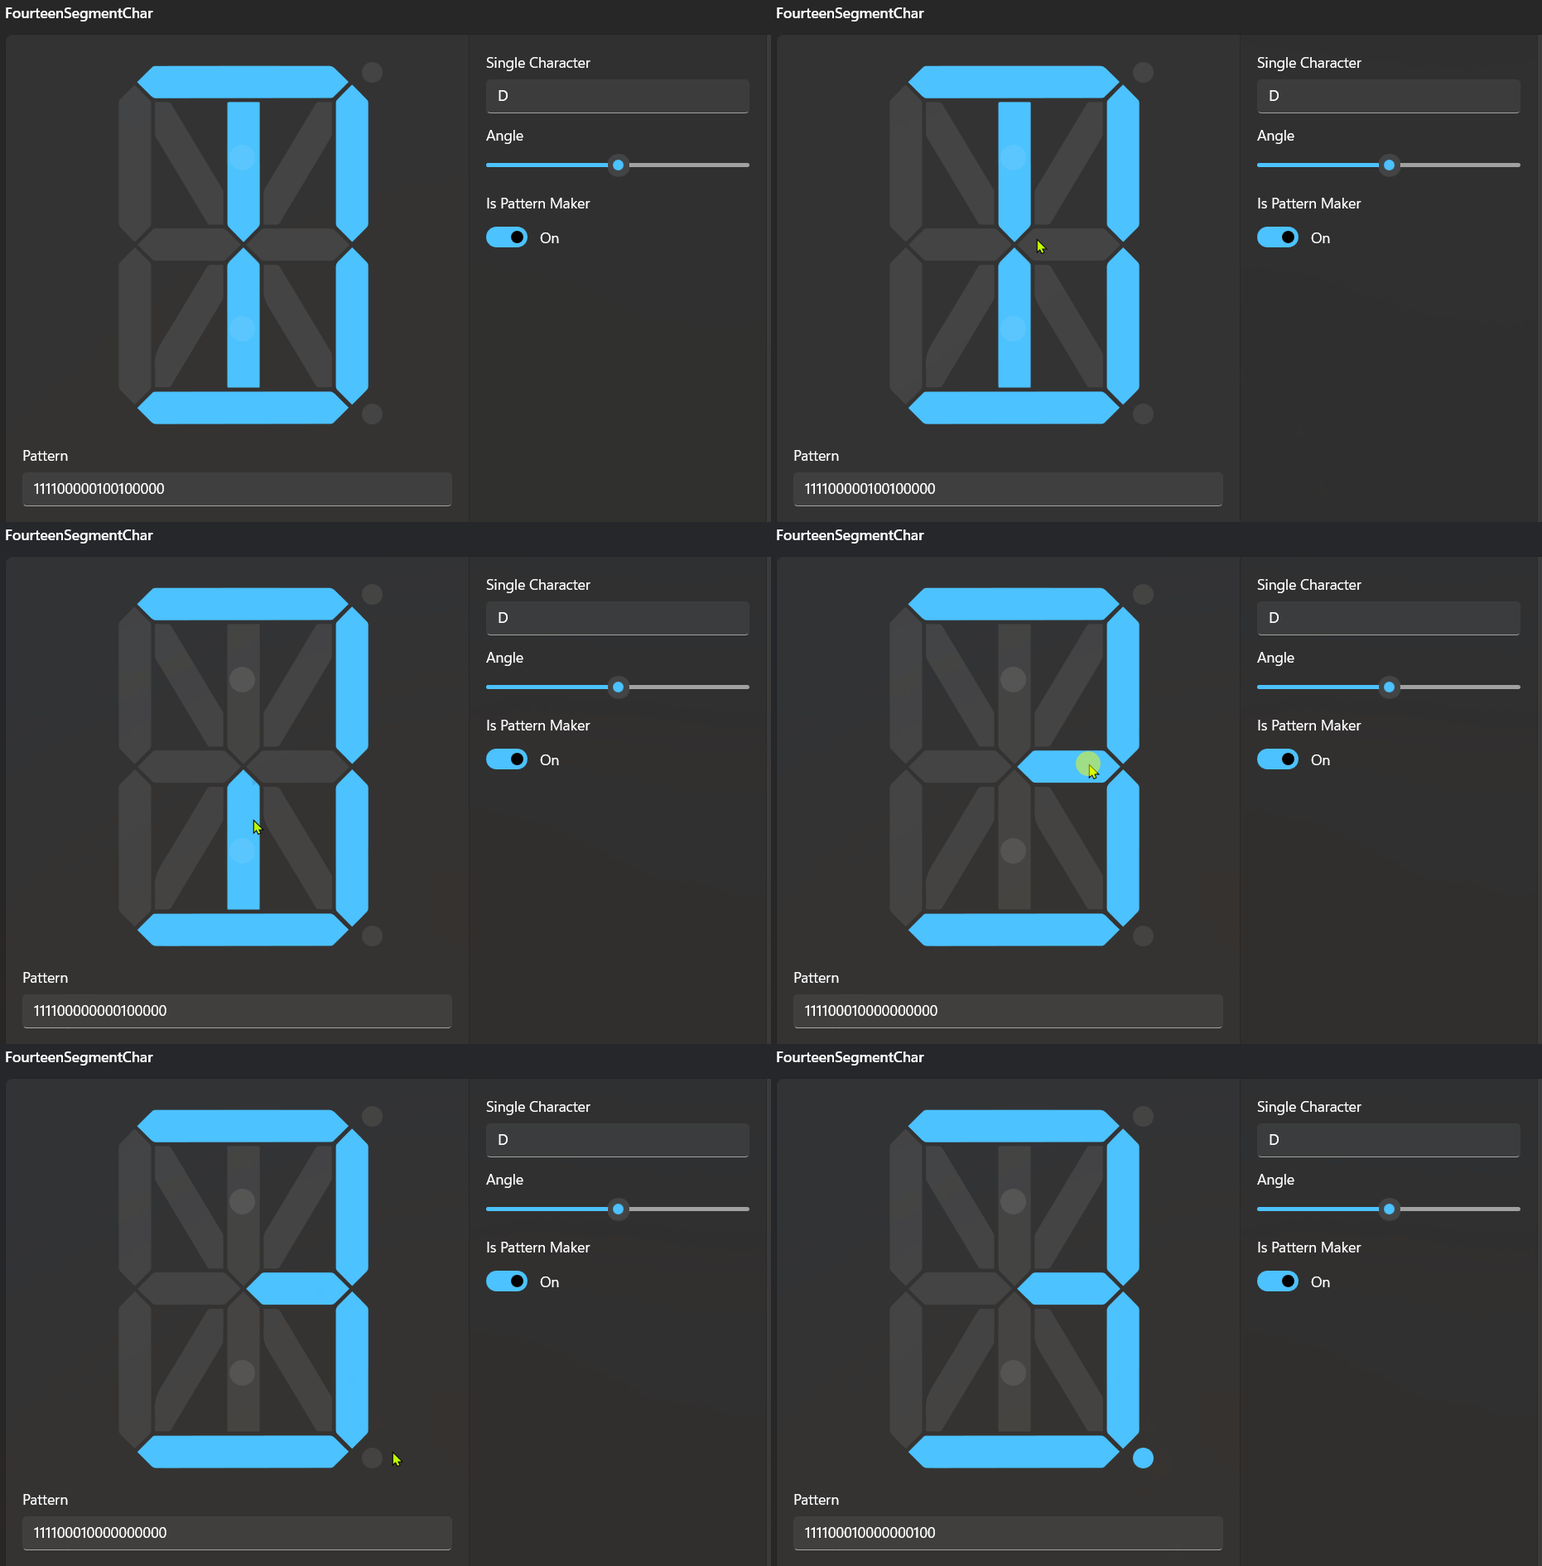
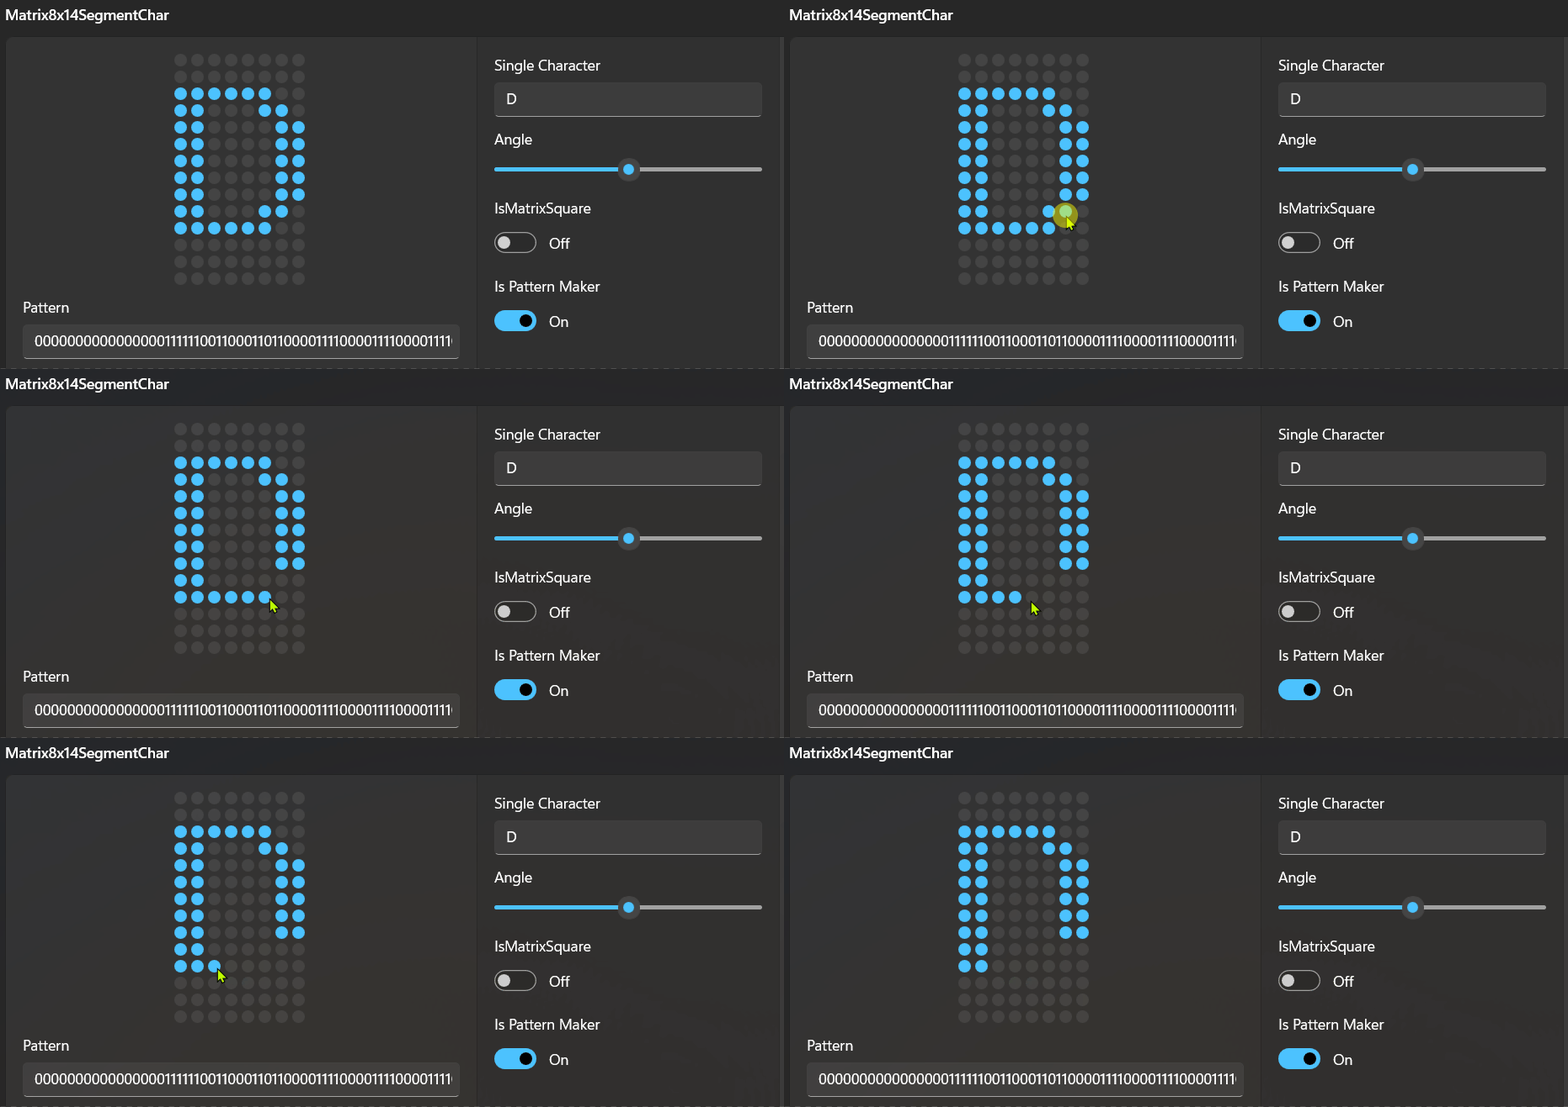
Once you’ve created your segments, you can use them and set IsPatternMakerEnabled to true. This allows you to click on the segments and obtain a pattern.
<local:MySegmentChar x:Name="MySeg" IsPatternMakerEnabled="True" PatternChanged="OnPatternChanged" PointerPressed="OnPointerPressed">private void OnPatternChanged(object sender, SegmentEventArgs e)
{
Debug.WriteLine(e.Pattern);
}
private void OnPointerPressed(object sender, PointerRoutedEventArgs e)
{
if (e.OriginalSource is Shape shape)
{
MySeg.ToggleSegmentState(shape);
}
}
Demo
you can run demo and see this feature.