Attributes
| Name |
|---|
| Keys |
| IsInfo |
| IsError |
| IsWarning |
| InfoTitle |
| InfoToolTip |
| WarningTitle |
| WarningToolTip |
| ErrorTitle |
| ErrorToolTip |
| Title |
| CloseButtonText |
| PrimaryButtonText |
| SecondaryButtonText |
| ContentDialogTitle |
| KeyNameProvider |
| UseAutoValidation |
| KeysMargin |
Events
| Name |
|---|
| CloseButtonClick |
| PrimaryButtonClick |
| SecondaryButtonClick |
| ValidateShortcut |
Methods
| Name |
|---|
| UpdatePreviewKeys |
| CloseContentDialog |
Example
1 | <dev:Shortcut x:Name="MainShortcut" PrimaryButtonClick="OnMainShortcutPrimaryButtonClick" SecondaryButtonClick="OnMainShortcutSecondaryButtonClick" CloseButtonClick="OnMainShortcutCloseButtonClick"/> |
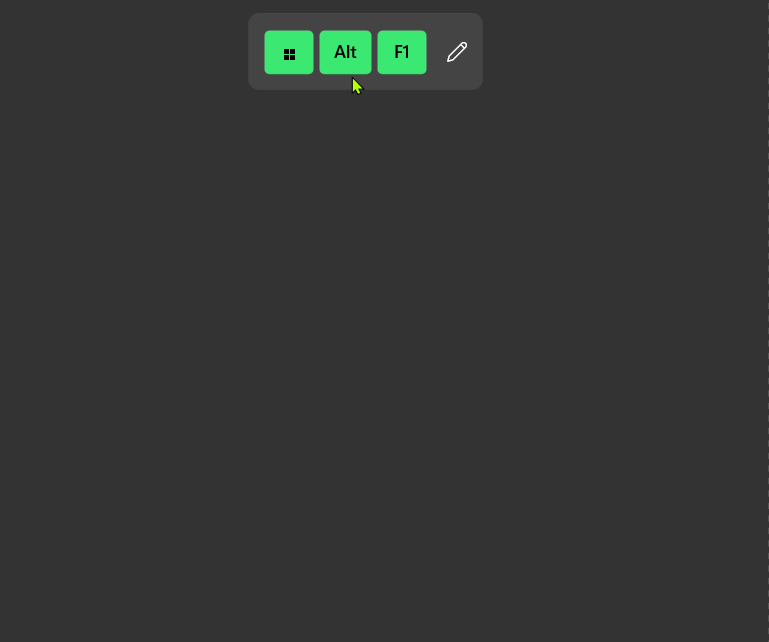
1 | MainShortcut.Keys = new List<object>() { "Win", "Alt", "F1" }; |
Keys type is List<object>, after selecting keys, you can cast it to KeyVisualInfo and you can access Key Name and Virtual Key.
Customize Keys
you can customize keys string by providing a KeyNameProvider:
1 | shortcut.KeyNameProvider = key => |
Custom Keys Validation
When UseAutoValidation enabled, it automatically handles key combinations and shows warnings or errors based on the keys pressed. (For example, pressing the Windows key alone will trigger an error message. You can customize the error message using ErrorTitle.)
If you want to handle validation yourself, simply disable UseAutoValidation and subscribe to the ValidateShortcut event.
Demo
you can run demo and see this feature.